
Custom Plastic and Metal Parts with One-piece Rubber Overmolding
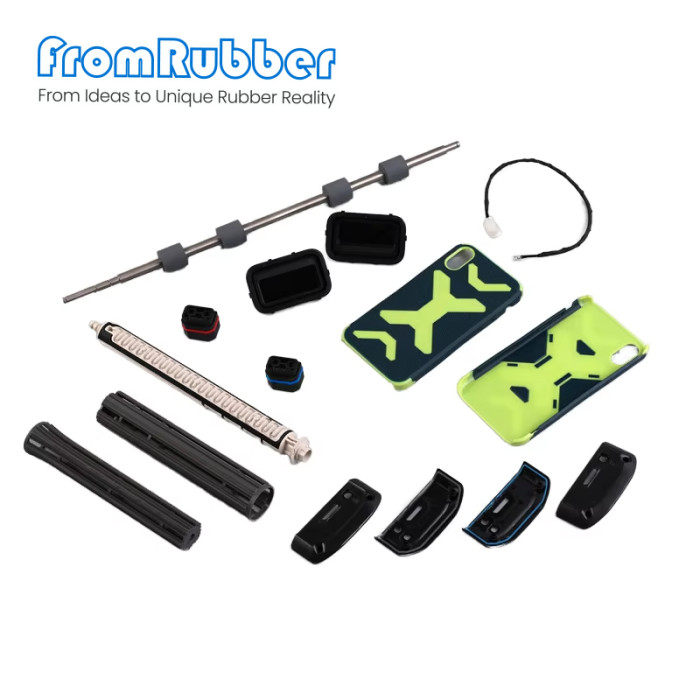

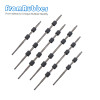
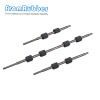
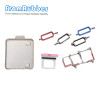

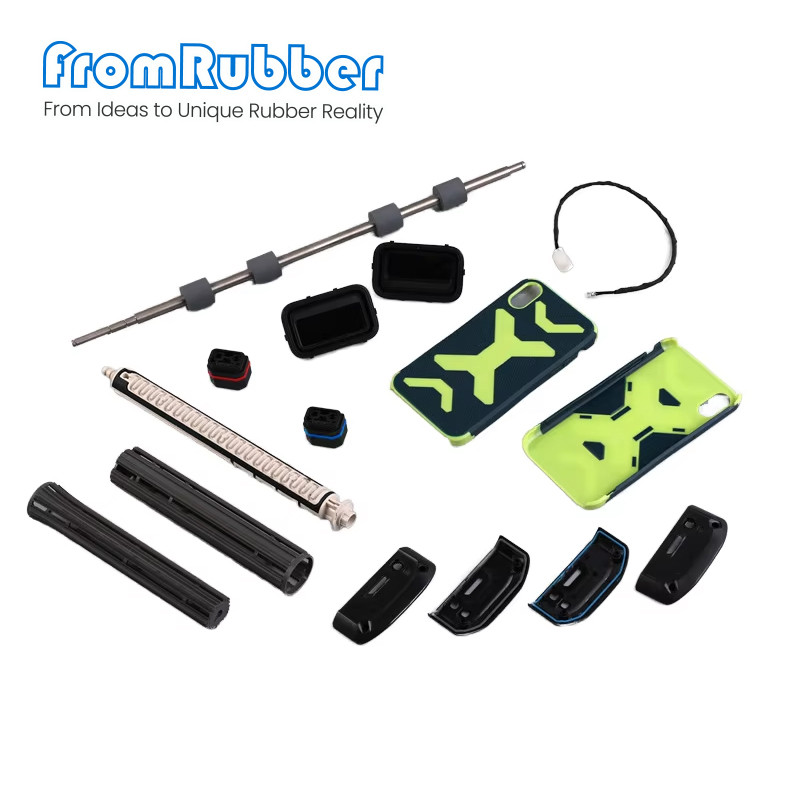
In an overmoulded part, the bond is the product
In rubber overmolding, a rubber-covered plastic or metal part is not a rubber part with something inside it. It is an assembly whose performance is decided at one interface: the boundary between the insert and the rubber. If that boundary holds, the part is one piece - sealed, grippy, insulated, quiet. If it does not, the rubber peels away from a perfectly good insert and the whole component is scrap.
So the useful design conversation is not about the rubber compound. It is about how the insert is prepared, how it is held in the tool, and how the two materials are asked to stay together through temperature cycling and mechanical load.
The interface is both a chemical and a mechanical joint
Three ways to make it hold
Chemical bonding. A primer or a self-adhesive compound forms a bond across the interface. It gives the highest strength and the least design freedom, because it depends on the substrate being exactly what the primer was chosen for.
Mechanical keying. Undercuts, holes, knurling or a dovetail trap the rubber so it cannot peel away. It works on almost any substrate and costs mould complexity rather than chemistry.
Both. The normal answer for a part that sees load: keying carries the peel, the bond seals the joint. A part designed with only one of the two has a predictable failure mode.
The insert has to survive the tool as well as the product
What the mould sees
An insert is placed in the cavity and clamped before the rubber goes in. Three things follow. It needs a positive location so it cannot shift when the compound flows. It needs a shut-off surface where the tool closes on it, or rubber flashes over the face you wanted clean. And it needs to tolerate the temperature and pressure of the process without deforming - a thin metal bracket will bend, and the part will be out of position by the time it cures.
The insert and the rubber also expand differently as they cool. That residual stress is what slowly peels a badly designed joint in service, long after the part looked perfect at inspection.
Four failure modes, and what each one points at
Peel at the edge
The joint has no keying
Debonding starts at the boundary of the rubber and runs inward. Add an undercut or a mechanical anchor at the edge before changing the compound.
Flash on a cosmetic face
Shut-off was not designed
Rubber flashes wherever the tool does not close cleanly on the insert. A stepped shut-off and a tighter insert tolerance fix it at the tool, not in inspection.
Insert off position
Location or clamp force
Flow pushes the insert before the rubber sets. Add a locating pin or a shoulder, and check clamp force on the first article rather than at the end of the run.
Insert cracks or deforms
Process versus material
Thin sections and some plastics do not tolerate the cure temperature or the clamp. If the insert cannot change, the process has to.
What to send for a rubber overmolding quote
Four items, and one question
The insert drawing or sample, the rubber envelope with the surfaces that must stay exposed, the load the joint has to carry, and the temperature range. With those four, the keying, the primer and the shut-off can all be designed in one pass.
The question is simple: is the requirement sealing, grip, insulation, or all three? A part designed to grip does not need a bonded interface; a part designed to seal does. That answer changes the tool more than the material choice does.
Specification on this series
- Process
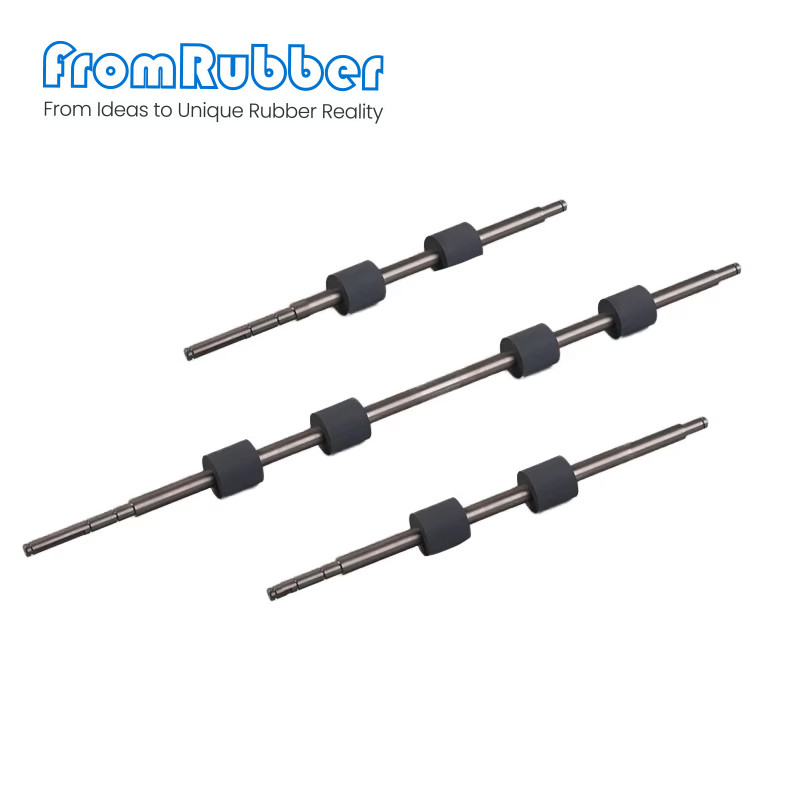
- One-piece rubber overmolding onto a plastic or metal insert
- Bonding
- Chemical bonding, mechanical keying or both, selected by load and by substrate
- Insert handling
- Positive location and defined shut-off; insert tolerance stated on the drawing
- Materials
- Silicone or EPDM rubber over engineering plastics, aluminium or steel
- Typical applications
- Automotive components, household appliances, machinery parts and instrument housings
- Minimum order
- 3,000 pieces per design
The process comparison is in rubber overmoulding as a way to unite plastic and metal, the project path in the silicone overmoulding guide, and sealed variants under waterproof overmoulded parts.
Questions from mechanical engineers
Can any plastic be overmoulded?
Most can be, but the bond quality varies enormously. Low-energy plastics need mechanical keying or a primer; high-temperature plastics may not survive the cure. Say which polymer you have before the tool is designed.
Does the part need a primer?
Only if the substrate and the compound do not bond on their own. A primer adds a process step and a shelf-life constraint, so it is worth avoiding through geometry where the load allows.
How is the bond tested?
By peeling the rubber from the insert at a defined rate and recording the force, and by repeating it after heat ageing. A pull test that tears the rubber instead of separating the interface is a pass - but the failure mode must be recorded.
Can a metal insert be used as an electrical contact?
Yes, and then the overmoulding also becomes a sealing and insulation feature. In that case the shut-off and the exposed contact area are the critical dimensions.
Send the insert and say what the joint must do
Keying, primer and shut-off all follow from whether the joint seals, grips or insulates. Send the insert drawing with the surfaces that must stay clear, and we will propose the interface and the tool detail.
Request an overmoulding quote See overmoulding capability- 加载中···


Start Your Project Today!
- Phone
- *Title
- *Content
Sign Up Out Newletter
