01
Through-colour in the compound
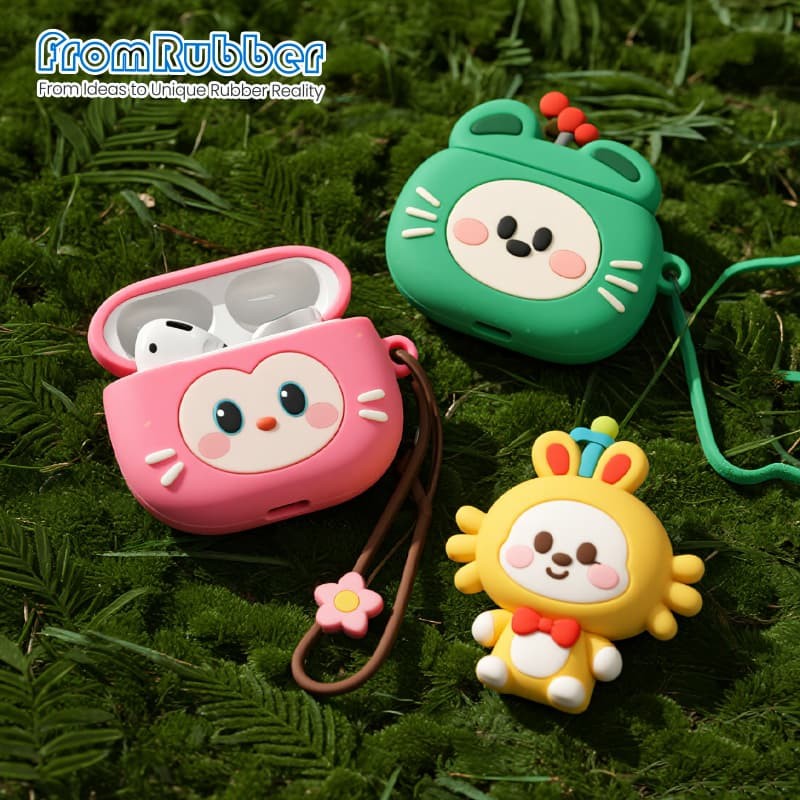
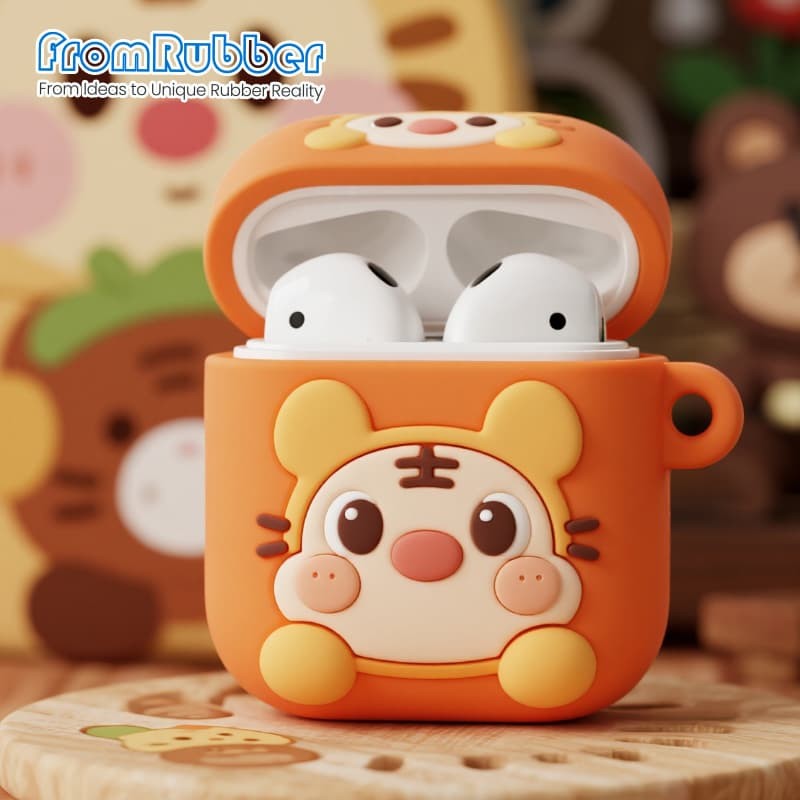
Pigment is mixed into the silicone before cure, so the colour runs through the full wall. A scuff exposes the same colour underneath. This is the most forgiving route for a product that lives in a bag.
Constraint: one colour per shot. Every extra colour is either a separate moulded piece or a post-cure operation.
02
Separate moulded colour pieces
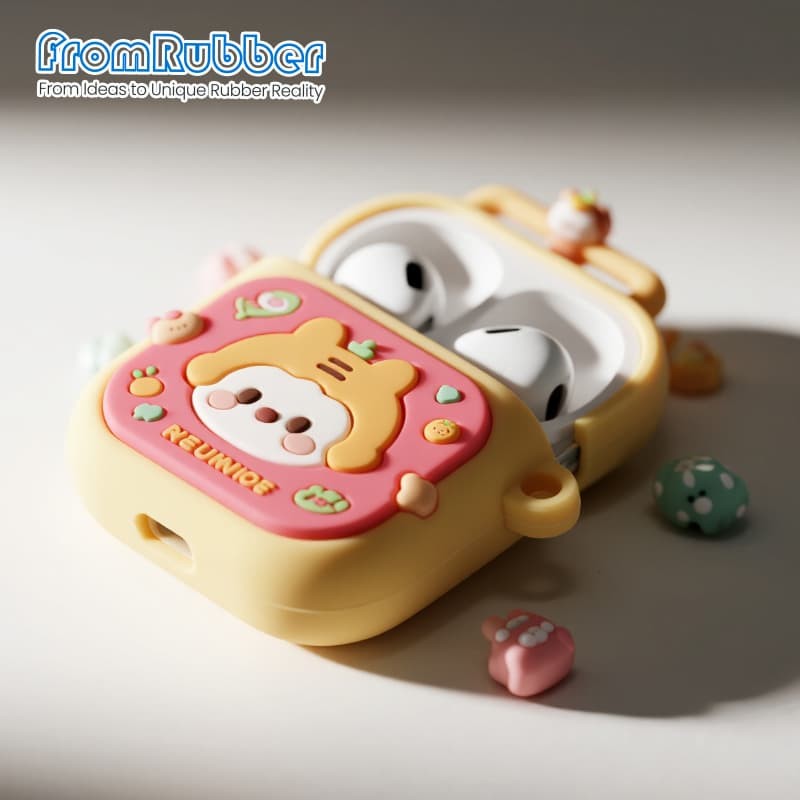
Eyes, cheeks, bows and small characters are moulded in their own colour and placed in the tool so they bond during cure. The colour is a solid part, not a coating, so edges stay crisp as the shell flexes.
Constraint: each colour piece needs its own cavity and placement step, which is where tooling cost and cycle time go.
03
Surface print
Screen print or pad print puts fine detail, small type and gradients on a flat or gently curved face. It is the only practical route for very small lettering.
Constraint: ink sits above the substrate. Abrasion shows first at raised edges and at the hinge line where the two halves rub.
04
Printed panel under a moulded rim
A printed insert is trapped by a moulded silicone rim, so the graphic is protected by the rim rather than sitting proud of it. Common on licensed-style art with many small elements.
Constraint: the rim has to be designed as part of the shell. Adding it later means a second tool.