
Small Texture Details in Silicone Lick Mat Production
The ridge that looked crisp in the file and soft in the hand
Open the approved CAD model of a lick mat and zoom in. The ridges are square, the gaps are even, the little embossed paw print has three clean pads and four clean toes. Now open the first moulded sample and put it under the same light. The ridges have rounded tops, the gaps have filled in slightly at the ends, and the paw print reads as a soft blob. The tool was cut to the file. The part came out of the tool. Somewhere between those two facts, the detail was lost.
This is the point in silicone lick mat production where design intent and cavity reality meet. It is not a story about a bad mould or a bad material. It is the ordinary consequence of copying a small shape into a soft material, at a size where a fraction of a millimetre decides whether the shape survives.
The productive move is to identify which details are at risk before the cavity is cut, and to decide which ones are worth protecting.
A detail that is easy to draw is hard to copy
In CAD, a feature is a surface. In a mould, it is a void. The material has to travel into that void, push air out of it, cure against its walls, and then release from it without dragging. Every one of those steps gets harder as the feature gets smaller, and the difficulty does not scale evenly. Halving a feature's width does much more than halve the tolerance available — which is why most silicone lick mat production disputes trace back to texture details rather than to the overall shape.
Narrow grooves leave less room for variation
A groove has three dimensions that matter: width, depth and the radius at the bottom. If the width is generous, small variations in fill and shrinkage are invisible. If the width is tight, the same variation becomes a visible difference between one end of the mat and the other. The groove has not changed; the margin has.
Shallow relief can vanish into the surface
Low relief depends on a shadow to be seen. On a matte silicone surface, a 0.2 mm step produces a very gentle shadow, and any softening at the edge removes it. Shallow details are therefore more dependent on edge sharpness than deep ones, which is the opposite of what most people assume.
Dense spacing puts pressure on the tool
Many features packed together mean many thin walls in the cavity. Thin steel is harder to polish, harder to vent and easier to damage. Density also affects filling: the material has to reach the far end of a textured field, and the field itself restricts the flow that would carry it there.
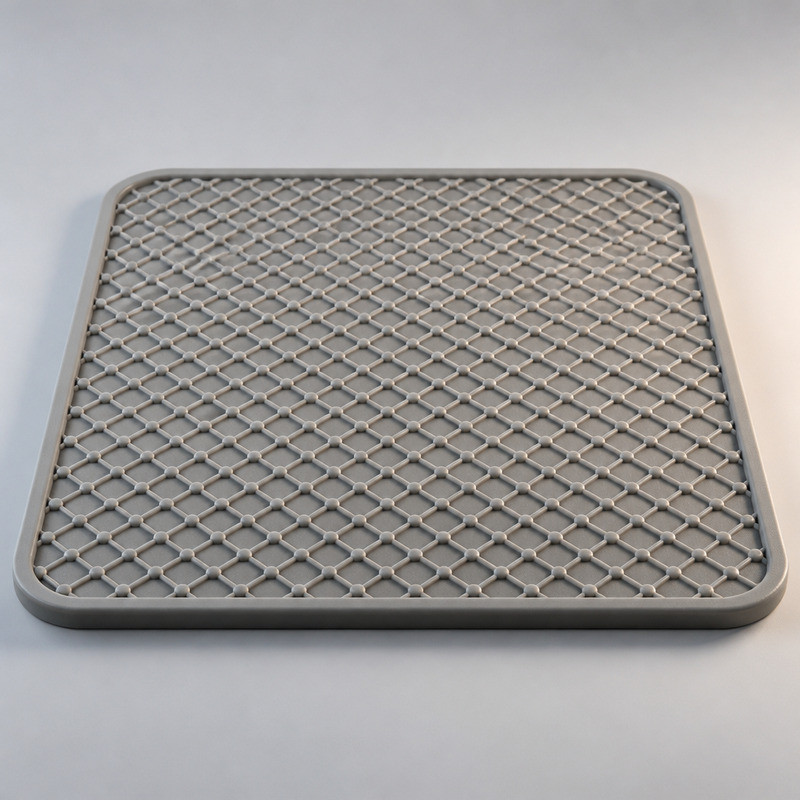
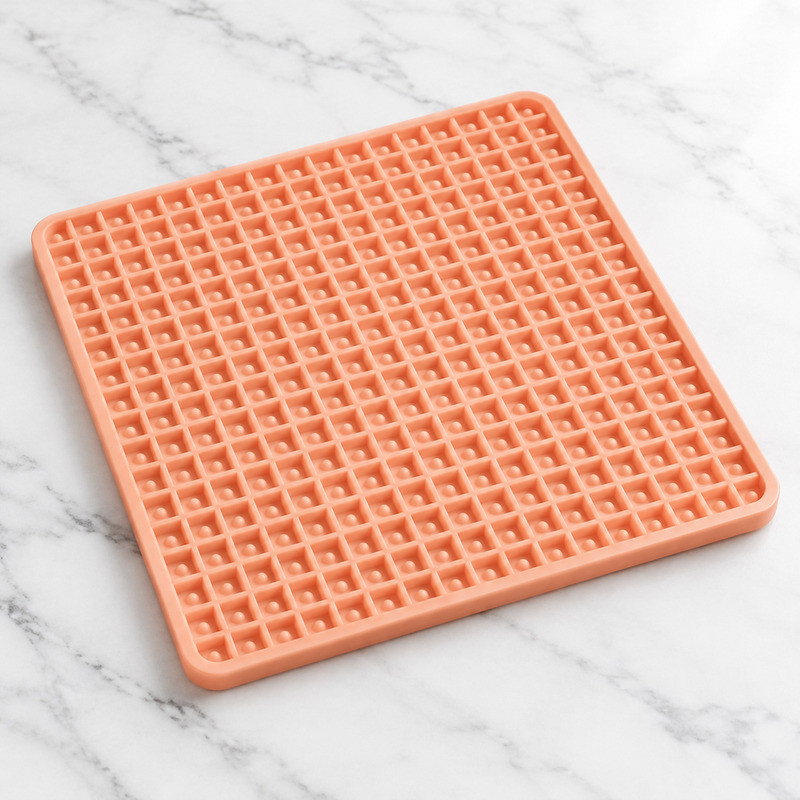
What goes wrong in silicone lick mat production when details are too small
Raised lines come out softer than drawn
A ridge with a square section in CAD becomes a ridge with a rounded top in silicone, because the material pulls away from a sharp edge as it cures and because the tool edge itself has a radius. Mild rounding is normal and often desirable. The problem starts when the rounding consumes a meaningful share of the ridge width, so the feature reads as a bead rather than a line.
Definition varies across the same part
Replication is not uniform across a cavity. Work published on micro-feature moulding shows that replication fidelity tracks local cavity pressure and temperature, and that uneven distribution produces uneven results over a single part even when the process settings are fixed (Evens et al., Micromachines, 2022). The practical lesson for a lick mat is simple: the texture near the edge of a large mat and the texture in the middle are not moulded under identical conditions, so a pattern that is marginal in the centre may fail at the rim.
Inspection becomes subjective
Once a feature is small, two inspectors can look at the same sample and disagree about whether it is acceptable. That disagreement is expensive, because it appears at goods-in, after the tool is paid for. A written standard with measurable features removes most of it.
Cleaning suffers in a way nobody tested
Dense textures trap a film of food that is hard to see when the mat is wet. Owners rinse, the mat looks clean, and residue stays in the fine gaps. This is the same hygiene argument that applies to bowls: contact surfaces that are harder to clean tend to stay contaminated longer, and the effect grows with surface complexity (Raspa et al., 2023).
How texture geometry meets the moulding process
Depth has to be reviewed with width and spacing
A deep, narrow groove and a shallow, wide one are different manufacturing problems. The first needs the material to fill a tall thin void and the air to leave it; the second needs the surface to be polished well enough that the shallow step still reads. Reviewing only the depth number hides which of the two problems is present.
Draft and demoulding direction matter at the edges
Vertical walls release cleanly; walls that lean the wrong way fight the part on the way out. Fine features are less forgiving here because the drag is distributed over a smaller area. Where a design includes undercuts or abrupt sidewalls, the release direction belongs in the drawing review, not in the first sample meeting.
Flow and venting are part of the pattern
The cavity needs a path for material and a path for air. A dense decorative field in the middle of a large mat can act as a barrier to both. This is why experienced toolmakers sometimes add a small runner or a vent detail that has nothing to do with the product's appearance — it exists so the appearance can be reproduced.
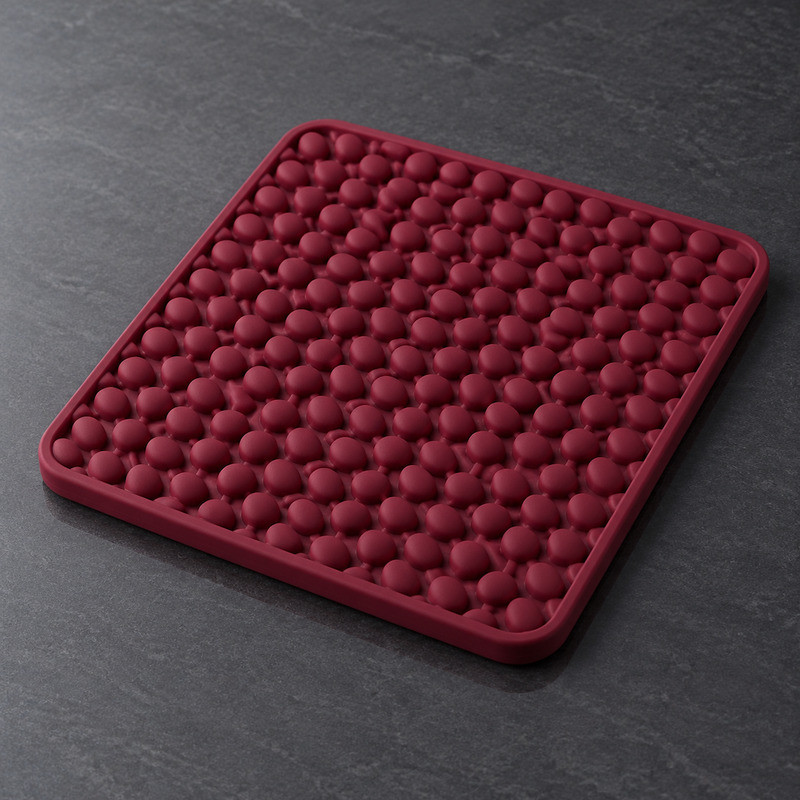
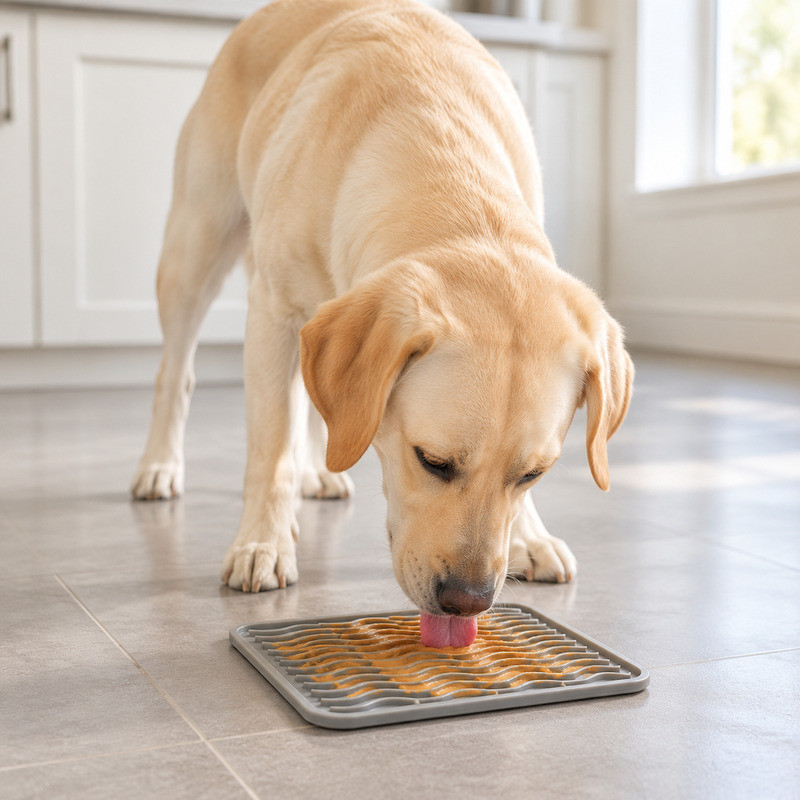
Simplifying without losing the identity
Keep the main pattern, cut the noise
Most mats have one or two features that carry the design: a distinctive channel layout, a signature edge, a recognisable zone shape. Those are worth protecting. The surrounding micro-texture that exists to fill space is usually the cheapest thing to remove, and removing it often improves the perceived quality because the remaining features look cleaner.
Increase spacing before reducing depth
If a pattern is at risk, the first adjustment to test is spacing. Moving ridges apart gives the material more room and gives a brush more room, and it changes the look less than cutting the depth. Reducing depth is the second lever; it takes away the shadow that makes the pattern visible.
Adjust relief and edge transitions first
A small change to the edge radius or the local thickness often solves a definition problem without touching the layout. These changes are also cheaper to make on a tool than a full re-cut, which matters if the first sample is already in hand.
Treat the logo as its own problem
A logo is a set of narrow strokes and tight curves, which is the worst case for a soft material. Moving the mark to the rim or the underside, enlarging it, or simplifying the letterforms are all legitimate answers. Keeping a 12 mm mark with hairline strokes on the feeding surface is usually not.
Reading a sample properly
Compare against the intent, not against the render
Put the drawing, the approved reference and the sample on the same table. Check feature width, height, spacing and edge definition against the numbers you agreed, not against the impression the render gave. If the numbers were never agreed, agree them now, before the next tool.
Check the hardest features first
Find the smallest ridge, the deepest groove, the tightest spacing and the finest letter, and inspect those before anything else. If they are acceptable, the rest of the mat almost certainly is. If they are not, the conversation should be about those features rather than about the whole pattern.
Check cleaning and flex on the same sample
A sample can be dimensionally correct and still be unusable: ridges that trap food, a mat that folds along a deep groove, a rim that lifts. Run water over it, bend it, look at it dry. These are separate acceptance criteria from appearance and should be written down as such.
What to settle before production starts
| Item to settle | What "settled" actually means |
|---|---|
| Drawing package | CAD file or a dimensioned drawing, with the smallest texture features marked by the brand rather than left for the supplier to guess. |
| Critical dimensions | Groove width, groove depth, ridge height, minimum spacing, corner radii and logo stroke width, each with a number attached. |
| Functional versus decorative | A written split. Decorative features can move; functional ones cannot, and the supplier needs to know which is which. |
| Use conditions | Food type, cleaning method and expected service life, because these set the acceptable minimum channel width. |
| Manufacturability opinion | An explicit question before tooling: which features are at risk, and what would change first. |
| Inspection method | Agreed lighting, viewing distance and which features are measured rather than judged. |
| Change record | Every revision written down and the revised geometry approved before production proceeds. |
None of this guarantees that a fine pattern will reproduce perfectly. It does mean that the risk is identified while the drawing is still editable.
One item sits outside the pattern but in the same conversation: the compound. Where the mat is sold as a repeated food-contact article, the material documentation is a separate submission from the drawing, and in the United States the applicable section is 21 CFR 177.2600. A pattern that moulds perfectly in the wrong compound is still a product that cannot ship.
How FromRubber handles fine detail
Fine detail is usually the part of a drawing that changes most between the first sample and the production tool, so it is worth reviewing before either exists. FromRubber, the trading name of Dongguan Bohao Electronic Technology Co., Ltd., produces moulded pet products in Dongguan, Guangdong, China — lick mats, feeding mats and bowls. Its detail review works from the drawing: the smallest feature, the thinnest wall, the deepest groove and the local floor thickness are identified, and the review says which of them is likely to lose definition first.
That review is based on the geometry in front of it. It does not assume that a fine texture is impossible, and it does not assume that a bold one is safe. Where a feature is at risk, the proposed changes are specific — widen this gap, raise this floor, ease this edge, move this mark — so the brand can decide what to keep. Tooling and sampling run through mould making and silicone moulding, with material documentation handled under raw material certification; the pet product range is listed under pet supplies.
Two companion pieces on the site may help while the drawing is still open: lick mat manufacturers assessed for pet brands, and pet feeding manufacturers for custom brand projects. Both describe how the shortlists were built, which is the part worth reading.
Fine detail questions from product teams
Can very fine textures be moulded into silicone lick mats?
Yes, within limits set by feature width, depth, spacing and the tooling approach. Very shallow, very narrow, very dense features are the difficult combination. The same texture spread out or widened usually moulds comfortably.
Why does a small embossed detail look different on the finished part?
Because the part is a copy of a cavity, and copying loses a little at every edge. Rounding at the tool edge, material shrinkage and release drag all reduce sharpness, and their effect is proportionally larger on a small feature.
Should fine details be removed before mass production?
Only the ones that are not doing a job. A fine texture that carries the brand or improves grip may be worth protecting with a tooling change. A fine texture that only fills space can usually go, and the mat often looks better without it.
How can a buyer reduce texture problems before ordering?
Send dimensions rather than adjectives, mark the critical features, ask for a manufacturability read before tooling, and agree the inspection method in advance. Most texture disputes are really specification disputes.
Sources and further reading
- Evens T. et al., "Comparing the Replication Fidelity of Solid Microneedles Using Injection Compression Moulding and Conventional Injection Moulding", Micromachines 13(8):1280, 2022. Read the paper
- Raspa F. et al., "Pet feeding habits and the microbiological contamination of dog food bowls", BMC Veterinary Research 19:261, 2023. Read the study
- U.S. Code of Federal Regulations, Title 21, Section 177.2600, "Rubber articles intended for repeated use". View the regulation
Replication behaviour described here refers to general moulding principles and to published research on micro-feature moulding. It is not a statement about the achievable tolerance of any specific tool or product.
Send the smallest feature first
When a drawing goes out for review, the most useful page is the one that shows the smallest ridge and the tightest gap at actual size. Send that page along with the model, and ask which details are at risk.
Email: nani@fromrubber.com or karl@fromrubber.com · WeChat and WhatsApp: +86 18676210913
Ask about sampling