Heat Transfer vs. Sew-On: Choosing the Right Application Method for Silicone Patches
Heat transfer and sewing fail in completely different ways, and the failure you can live with depends on the garment. A lifted transfer looks like a defect. A missed stitch looks like a quality escape. Neither is repairable at retail.
This compares the two application methods for silicone patches on the criteria that decide a programme: bond strength, fabric compatibility, wash behaviour and cost per unit.
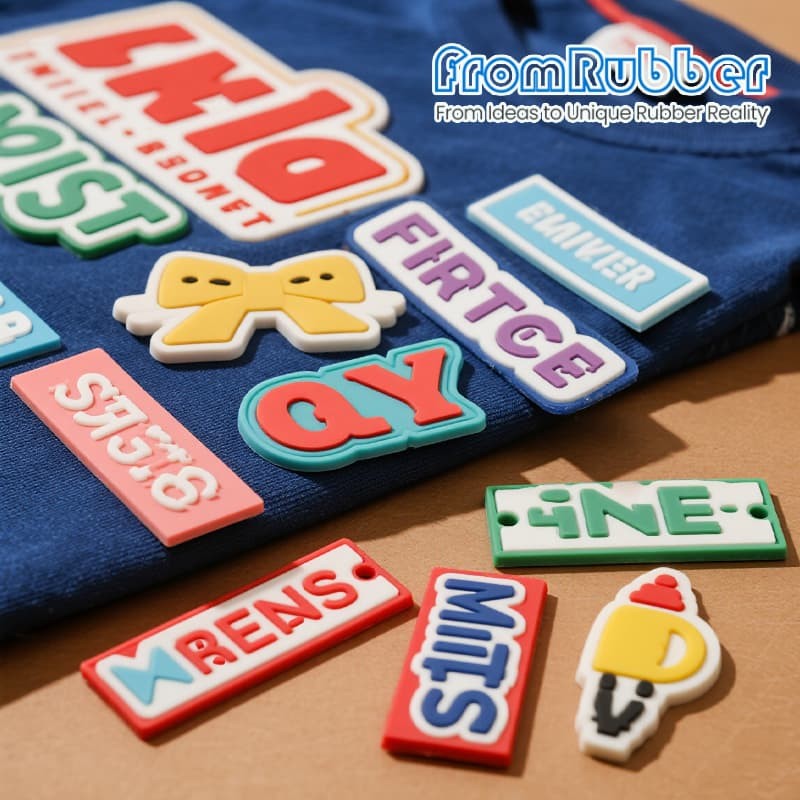
Heat Transfer vs Sew-On for Silicone Patches: Which Holds Better?
The direct answer: sewing holds mechanically and survives anything the garment survives; heat transfer holds chemically to the fabric surface and depends on fibre, finish and press conditions. Sewn attachment is more robust, heat transfer is cleaner and faster.
The distinction matters because the two methods stress different parts of the patch. A sewn patch is held at its edge, so the stitch line takes the load and the edge is where it fails. A heat transfer patch is bonded across its whole back, so it is held by adhesive strength, and its failure mode is edge lift followed by progressive peel.
Fabric Compatibility Is the Deciding Factor
If the garment is a technical shell or a stretch knit, sewing is the only route that survives normal use. If it is a cotton tee produced in volume, heat transfer is faster, flatter and cheaper.
Compatibility is decided by three things: the fibre, the finish on the fabric, and how much the face can move. Heat transfer needs a surface that accepts adhesive and tolerates the press; sewing needs a margin that will not fray.
Coatings are the most common surprise. A water-repellent finish that makes a jacket perform also prevents a bond, so a patch that passes a lab peel test can still lift in the field.
| Face fabric | Heat transfer | Sew-on |
|---|---|---|
| Cotton and cotton blends | Good, tolerant of press heat | Good |
| Polyester and synthetics | Risky: heat can glaze or shrink the face | Good |
| Coated or waterproof shells | Poor: coating blocks the bond | Good, if a stitch margin exists |
| Knitwear and stretch fabrics | Poor: bond restricts stretch and cracks | Better, with a stretch stitch |
| Fleece and brushed surfaces | Poor: fibre pull-out | Good |
What Actually Fails First, and Why
On a heat transfer patch, the sequence is predictable. A small area at the edge lifts, water and detergent enter behind the bond, and the patch peels from the perimeter inward. Heat and pressure at the press are what prevent it, which is why process control at the application stage matters as much as the patch itself.
On a sewn patch, the failures are mechanical. The stitch line cuts through a soft edge, the patch tears at the needle holes, or the thread abrades against a hard edge. A chamfered or rolled edge and a slightly thicker rim solve most of it.
The Press Parameters Worth Writing Down
- Temperature matched to the face fabric, not to the patch.
- Pressure high enough to wet out the adhesive, low enough not to compress the relief flat.
- Dwell long enough for the bond, short enough to avoid glazing synthetics.
- Cooling under load, which is the step most often skipped and the one that decides initial bond strength.
Cost Per Unit, Honestly Compared
Heat transfer is cheaper per piece at volume because it is a single press operation with no labour per stitch. Sewing adds handling time, needle changes and a visible skill requirement, and the cost rises with patch perimeter rather than with area.
The comparison changes once rework is included. A transfer that lifts in the field generates a return; a stitch that is missed is caught in line inspection. For high-value garments, the more expensive attachment is often the cheaper programme.
There is also a hybrid worth knowing. A patch can be bonded for location and stitched for security, which is common on outerwear where appearance and durability both matter. It costs more than either method alone and removes both failure modes, which is why it appears on premium programmes rather than on volume basics. For the patch itself, the moulding choices are covered in our guide to custom rubber patches, and the transfer construction is shown on the heat transfer rubber patch page.
Frequently Asked Questions
Can a heat transfer patch be removed without damaging the garment?
Usually not cleanly. The adhesive penetrates the fibre surface, so removal leaves residue and often a visible mark. Treat heat transfer as permanent at the design stage.
How many washes should a silicone patch survive?
Agree the number and the wash temperature with the customer before quoting, then test to it. A patch tested at a gentle cycle says nothing about a hot wash with detergent and tumble drying.
Does a sewn patch need a special needle?
It needs a needle suited to elastomer and a stitch that does not cut the edge. A ballpoint or a larger sharp needle with a slightly longer stitch length reduces tear at the needle holes.