Silk Screen Printing on Silicone: Process Limitations Every Engineer Must Know
1. Why Surface Geometry Is the #1 Constraint
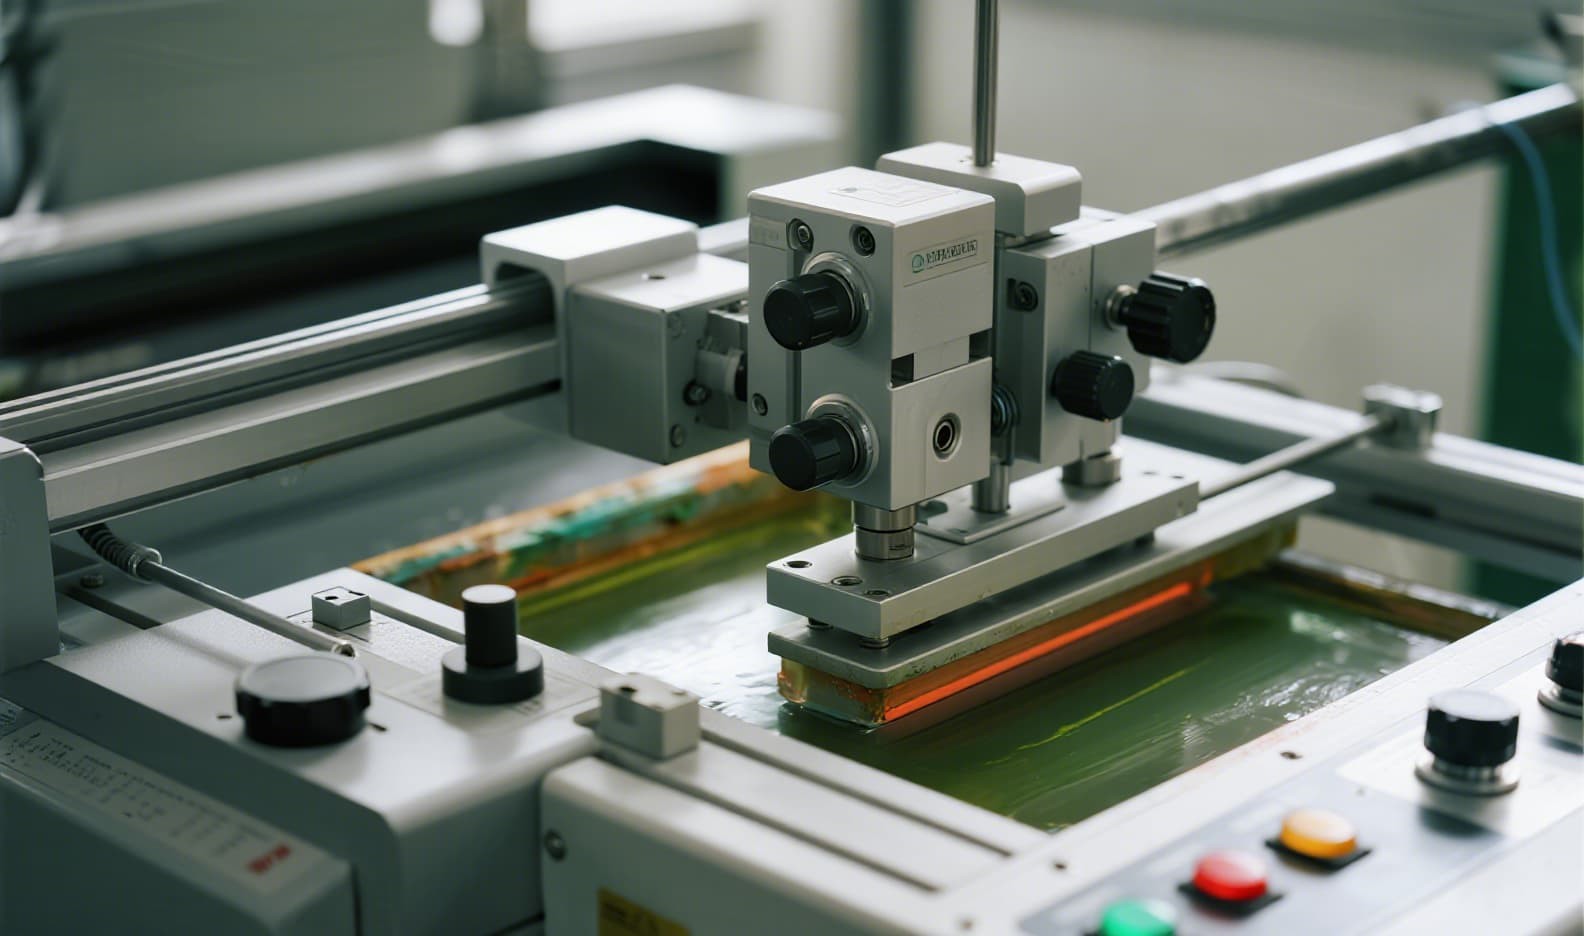
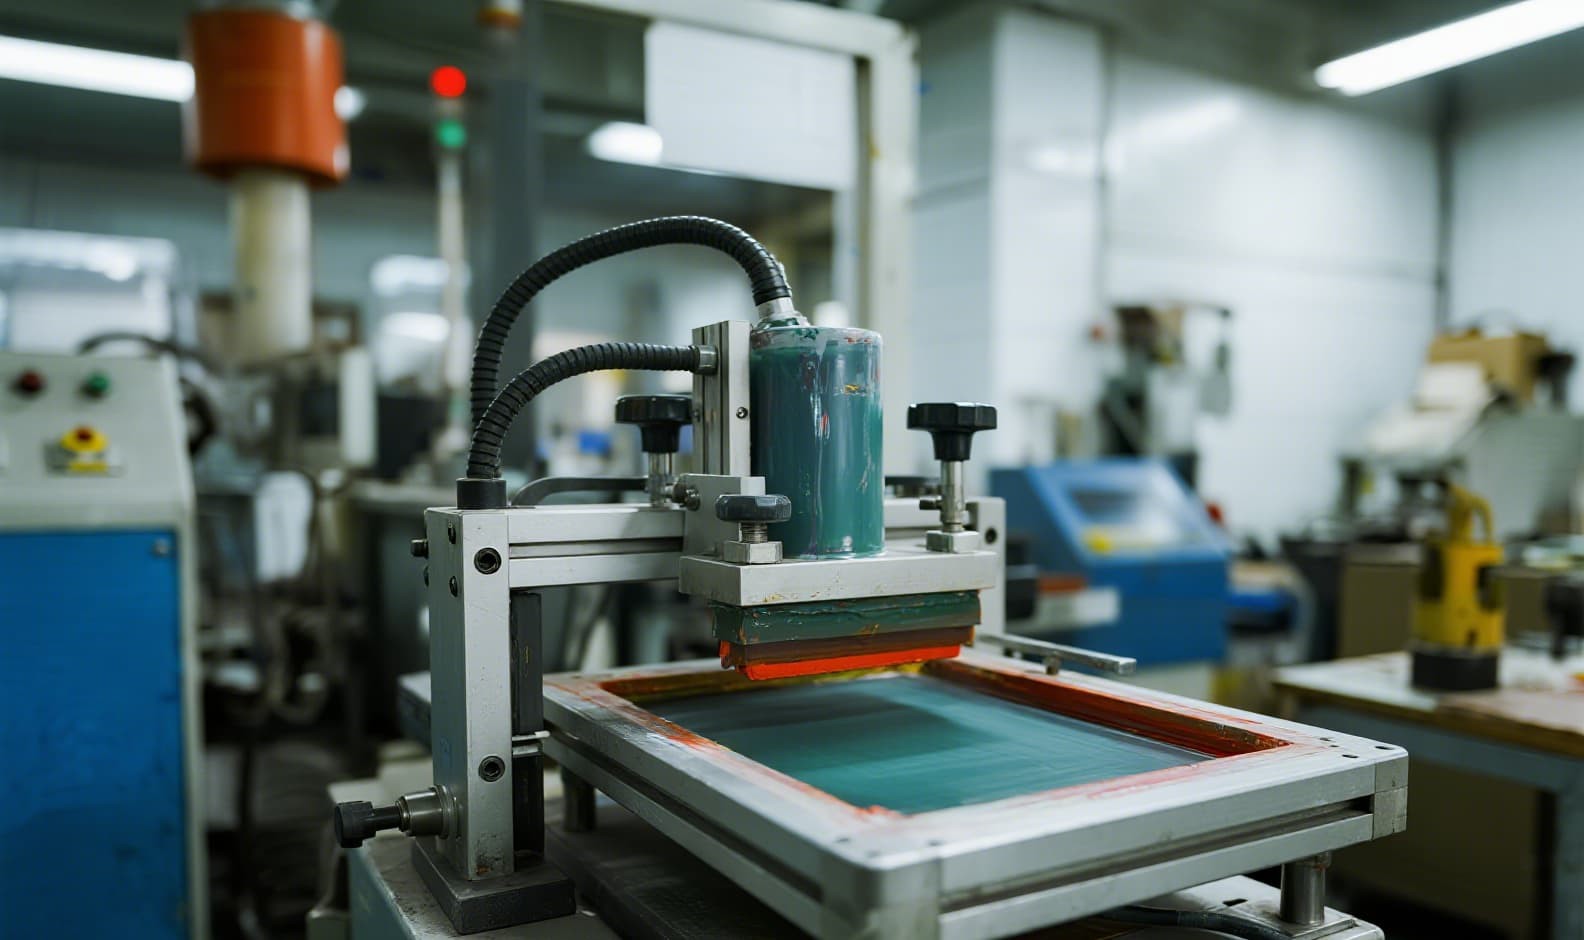
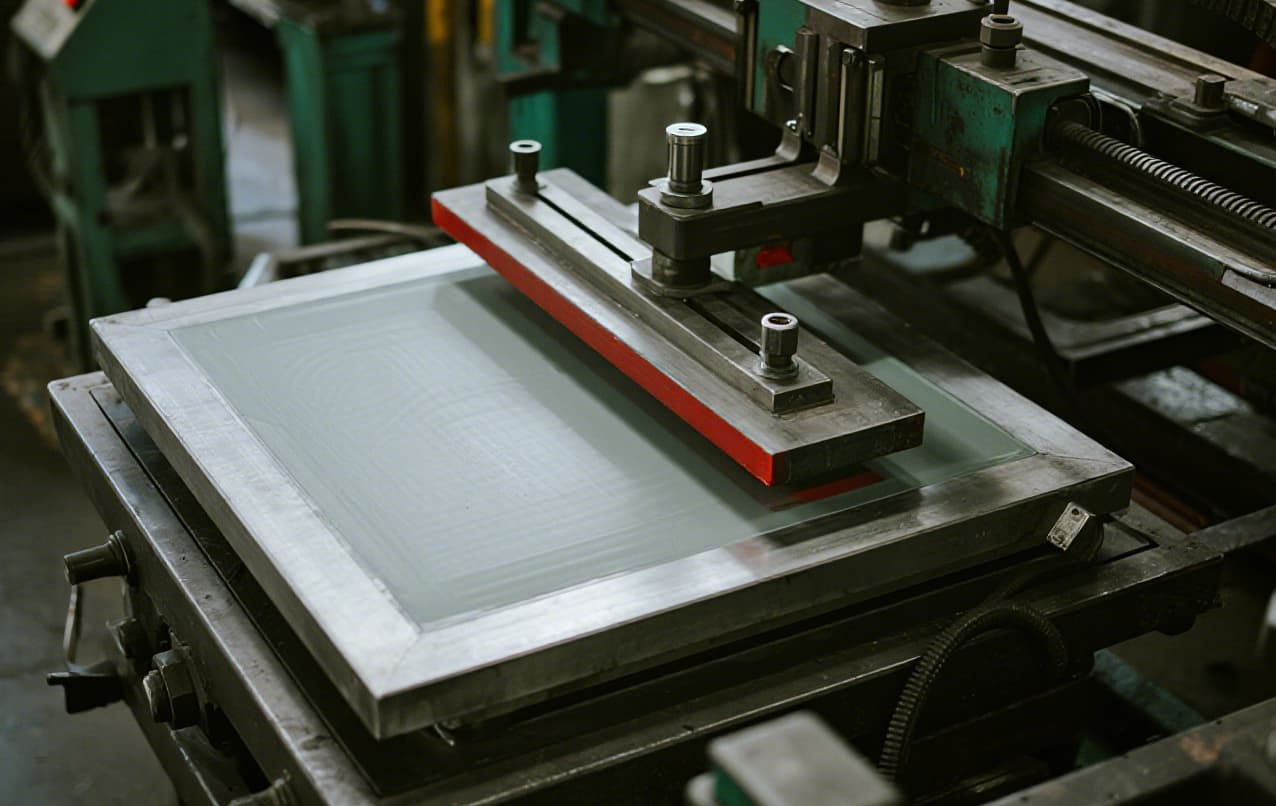
The fundamental limitation of screen printing is rooted in how the process works. A flat mesh screen is stretched across a frame, and a squeegee presses ink through the open mesh directly onto the product surface. For this to work, the screen must make intimate, uniform contact with the substrate.
Silicone is an elastic material with a surface energy of only 20-24 mN/m — lower than almost any common printing ink. While this naturally low surface energy can be addressed through activation treatments (covered later), the geometric constraint is harder to fix: a flat screen cannot conform to a curved or textured surface.
2. Curved Surfaces: Where Silk Screen Printing Hits a Wall
Convex and Concave Keytops: The Minimum Radius Rule
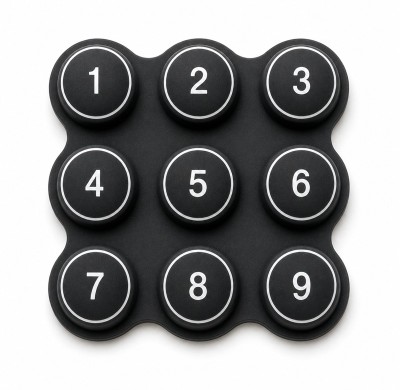
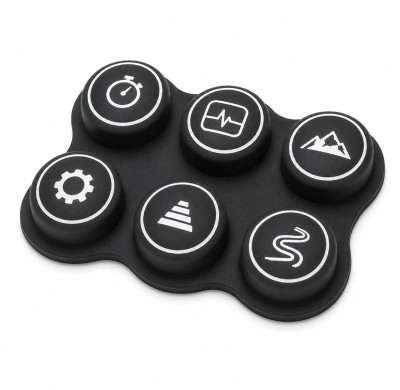
When a silicone keypad or component has a curved top surface, the screen printing stencil cannot maintain full contact. Industry-standard design guides specify strict radius limits:
- Convex keys (dome-shaped): Minimum radius of 0.375" (~9.5 mm) for printing over the edge. Maximum curvature height: 0.060" (~1.5 mm).
- Concave keys (dish-shaped): Minimum radius of 0.375" (~9.5 mm) with a maximum depth of 0.060" (~1.5 mm).
- Legend-to-edge distance on curved surfaces: Minimum 0.015" (~0.38 mm) from the tangent point of the outer radius.
Beyond these limits, the screen lifts off the surface, and the printed character loses edge definition. In production, we see ink bleeding (uncontrolled spread), ghosting (faint secondary images), and incomplete fill in the character centers.
3. Textured Finishes: The Coverage Challenge
Matte Finishes, Fine Knurls and Surface Patterns
Textured silicone surfaces — matte finishes, fine knurls, micro-grip patterns — present a second major limitation for screen printing. The issue is simple physics: ink will not fill the valleys of a textured surface evenly.
When a squeegee forces ink through the screen mesh, the ink is deposited on the peaks of the texture but cannot flow into the recessed areas. The result includes:
- Pinholes and voids — tiny unprinted spots where the texture peak blocked ink transfer
- Inconsistent color density — the printed area appears lighter or patchy
- Premature wear — ink on texture peaks wears off faster because the contact area is smaller
At FromRubber, when a customer specifically requests screen printing on a textured surface, our engineering team evaluates two mitigation strategies during the DFM stage:
- Local surface modification — creating a small smooth landing zone within the textured area
- Hybrid approach — using screen printing for flat areas and pad printing for textured functional zones
4. Design Guidelines and Minimum Tolerances
Through thousands of production runs, the silicone manufacturing industry has established empirical design rules that define what screen printing can and cannot do.
| Parameter | Minimum/Maximum | Notes |
|---|---|---|
| Minimum line width (legend) | 0.007-0.010" | Below this, ink bridging causes broken characters |
| Minimum text height | 0.050" (1.27 mm) | Smaller text loses legibility after curing |
| Convex key minimum radius | 0.375" (9.5 mm) | Screen lifts on tighter radii |
| Concave key minimum radius | 1.125" (28.6 mm) | Screen bridges over dish |
| Max curvature height/depth | 0.060" (1.5 mm) | Beyond this, use pad printing |
| Multi-color registration | +/- 0.004" (0.1 mm) | FromRubber standard tolerance |
| Ink layer thickness | 10-20 microns | Thicker layers risk cracking |
5. Pad Printing: The Curved-Surface Alternative
When Pad Printing Beats Screen Printing
Pad printing uses a soft silicone pad that deforms on contact, allowing it to pick up ink from an etched steel plate and transfer it onto curved or uneven surfaces.
- Advantages: Works on 3D geometries, recessed areas, and textured surfaces. Lower tooling cost for short runs.
- Limitations: Smaller print area per pass. Registration control is harder.
- Ink thickness: ~50 microns (2-3x thicker than screen), creating a subtle raised feel.
6. Adhesion Failures: Root Causes and Solutions
Over 80% of adhesion complaints trace back to one of four root causes:
Mold Release Contamination
Residual release agent on the silicone surface creates an invisible barrier. Cleaning with isopropyl alcohol or ultrasonic bath is essential.
Incomplete Curing
Screen printing ink requires 150-200 C for proper cross-linking. Under-cured ink has 60-70% lower peel strength.
Wrong Ink System
Using generic ink on silicone is the #1 preventable mistake. Silicone-dedicated ink forms a chemical bond.
No Surface Activation
Untreated silicone has 20-24 mN/m surface energy. Inks need 36+ mN/m. Plasma or primer raises it to 40+ mN/m.
7. Surface Activation Technology: The Unseen Enabler

Plasma, Corona and Primer: Raising Surface Energy
Silicone's inherent low surface energy (20-24 mN/m) is the root cause of most adhesion problems. Industry-standard solutions include:
- Atmospheric plasma: Ionized air introduces hydroxyl groups. Surface energy rises to 40+ mN/m. Effect lasts 20-30 minutes.
- Corona discharge: High-voltage creates ozone that oxidizes the surface. Best for continuous production lines.
- Primer (silane coupling agent): A chemical tie layer applied as a 3-5 micron coating. Achieves 5B adhesion (ASTM D3359).
Our quality lab tracks surface energy on every batch using dyne test pens. If below 36 mN/m after activation, the part is re-treated. This keeps our adhesion failure rate below 0.3%.
8. DFM: Catch Limitations Before Production
The single most effective way to avoid screen printing limitations is a Design for Manufacturing (DFM) analysis before any tooling is cut.
- Geometry scan: Import 3D step file and measure curvature radius. Flag if flatness exceeds 0.060".
- Surface finish review: Suggest local smooth areas or switch to pad printing for textured printing zones.
- Multi-color complexity: Each color adds one printing pass. For 3+ colors, evaluate alternatives.
- Tolerance stacking: Verify legend-to-edge distances are achievable with part's dimensional variation.
FromRubber provides a complimentary 24-hour DFM review for every new project. Submit Your Design for a Free DFM Review