Glossy Silicone Keypad: Mirror Mold vs Coating Methods
You have a glossy silicone keypad on your drawing board. The render looks stunning. Then reality hits: do you polish the mold to a mirror finish, or do you mold it matte and spray on a glossy coating?
Every silicone supplier will give you a price for both. Few will tell you the real trade‑offs—the ones that show up after 5,000 actuations, or after the first alcohol wipe, or when your production line starts rejecting 8% of the parts.
This is not about “which is better.” It is about which one actually works for your product. Here is what we have learned from making both types for over a decade.
Mirror Mold for Glossy Silicone Keypad: The Shine You See, The Problems You Don’t
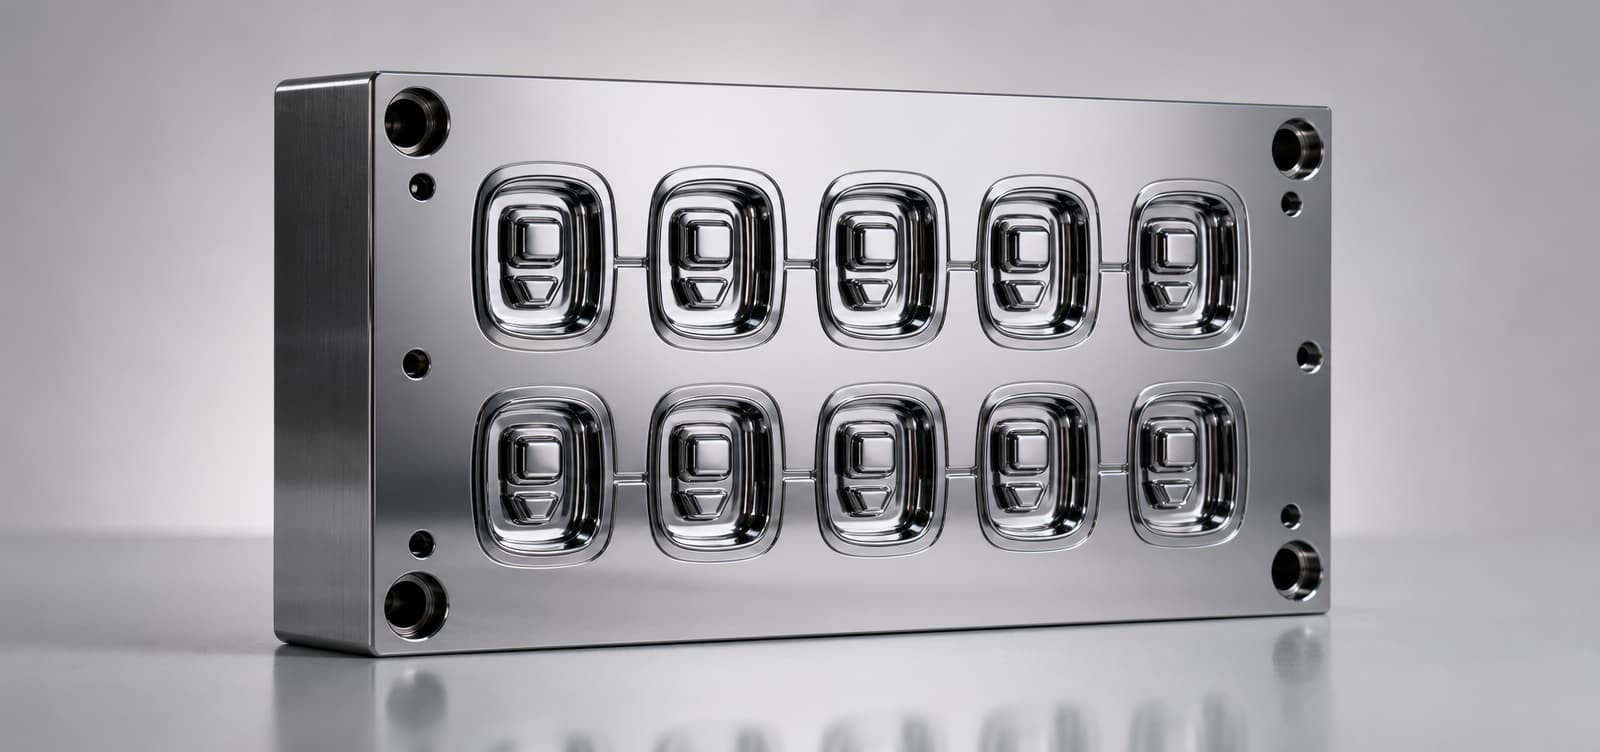
A mirror‑polished mold—finished to Ra 0.05 µm or less—produces a silicone part that looks like wet glass straight out of the press. No extra steps, no coating line, no per‑part consumables.
That sounds perfect. And for some products, it is.
The good:
- Every part is identical. The gloss is baked into the steel, so batch‑to‑batch variation is nearly zero.
- No coating means no curing ovens, no spray booths, and no solvent handling.
- If your product sits in a clean, dry environment and gets touched only occasionally, that mirror shine will last for years.
The catches—and they are significant:
- Demolding is a pain. Highly polished steel grips silicone tighter than a matte surface. We either slow down the cycle to let the part cool longer, or we use release agents that can leave residue. Either way, Your glossy silicone keypad cycle time creeps up.
- Raw silicone is soft. A single wipe with a dry cloth can leave micro‑scratches that fog the gloss. Wipe it with a solvent? You will ruin it.
- Fingerprints are impossible to remove completely. The surface absorbs skin oils, and smudging becomes a permanent eyesore.
- Printing legends on raw glossy silicone? The ink will flake off after a few thousand presses. You can forget about durability.
We have seen too many teams choose mirror mold because it looked cheaper on the quote, only to discover that their “premium” keypad looked worn out before it left the factory.
Coating Methods: When Gloss Needs a Shield
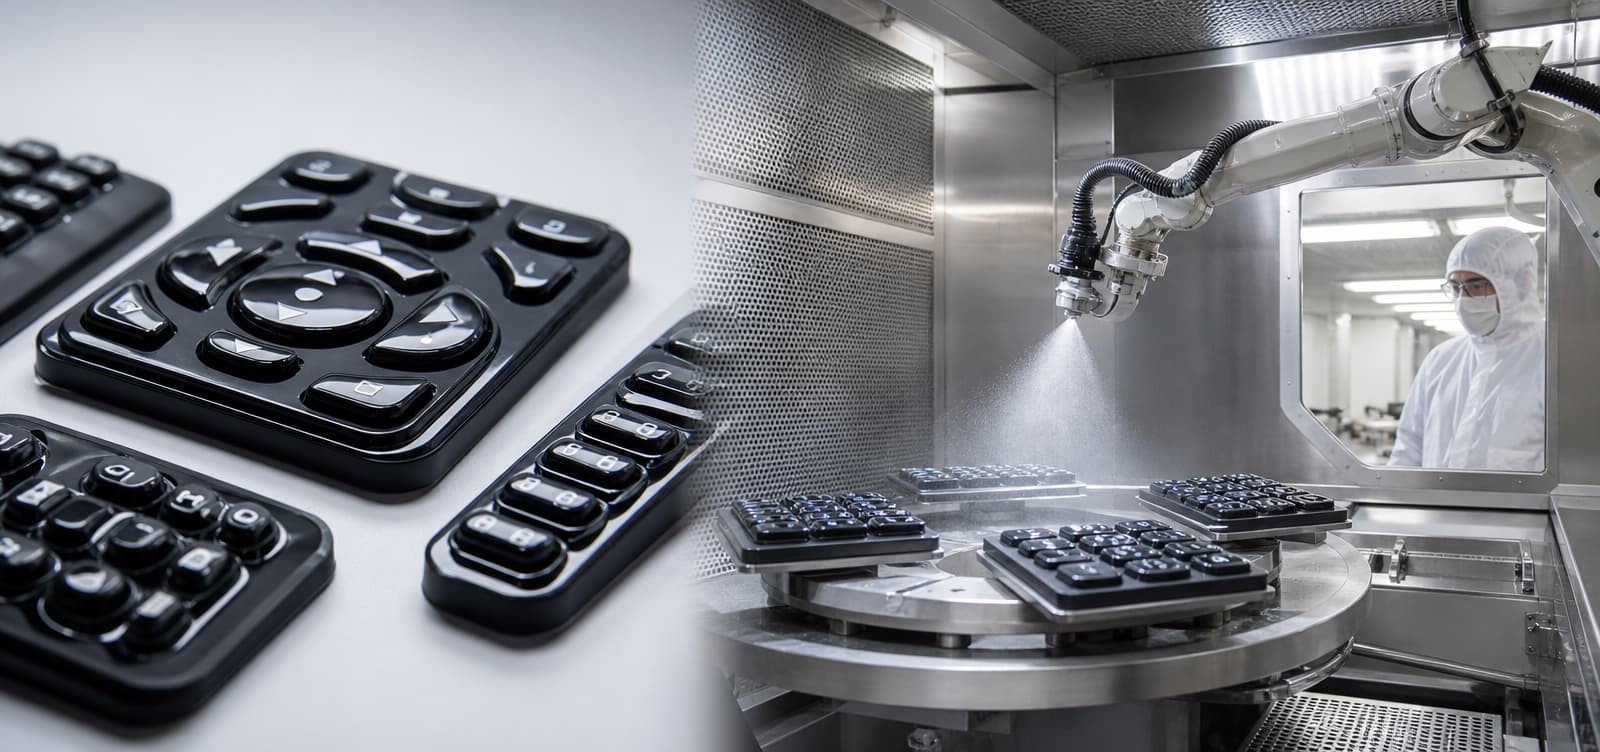
Coating flips the process. You mold the keypad with a standard, non‑polished surface (often #400 grit or similar), then spray a liquid coating—PU, UV‑cured, epoxy, or acrylic—to achieve the gloss.
Why you might prefer this:
- The coating protects the silicone. A good PU topcoat can survive 10,000 Taber abrasion cycles, which raw silicone cannot even dream of.
- It resists IPA, ethanol, and hospital‑grade disinfectants. If your device goes into a medical or industrial environment, this is non‑negotiable.
- The tactile feel changes. Coated silicone feels harder, drier, and more like painted plastic—which many users associate with quality.
- You can laser‑etch legends through the coating. The symbols are permanent, backlight‑compatible, and do not wear off.
The downsides you have to manage:
- Per‑part cost. You are paying for materials, spraying labor, and curing energy. Figure $0.02–$0.10 per square inch, depending on layers and chemistry.
- Process variability. Coating thickness, oven temperature (80–120°C for PU), and even humidity affect the final gloss. You need disciplined process control.
- UV yellowing. Some coatings degrade in sunlight. If your product lives outdoors, you must specify UV‑stable formulas.
- Reject rates. Orange peel, pinholes, and runs happen. Even on a good line, expect 3–8% scrap from coating defects.
Coating is not a silver bullet. It is a trade‑off: you pay more per part, but you get a surface that actually survives real‑world use.
A Missouri Automation Company’s Lesson on Glossy Silicone Keypad
Let us make this concrete. A few years ago, we worked with an automation company based near St. Louis, Missouri. They were developing a handheld programmer for factory automation—a device that operators would use daily, often with greasy gloves, and wipe down with isopropyl alcohol at the end of each shift.
Their industrial designer insisted on a high‑gloss, piano‑black finish. The prototype used a mirror‑polished mold, and it looked gorgeous in the showroom.
Then they ran a field‑simulation test: 20,000 actuations, with occasional alcohol wipes every 500 cycles. After the test, the mirror‑mold samples were hazy, scratched, and the silk‑screened symbols were barely legible. Their quality manager called us and said, “This looks like it has been on the shop floor for a year—and it hasn't even shipped yet.”
We proposed switching to a two‑layer PU coating: a primer for adhesion, then a glossy topcoat. We left the mold at a standard #400 finish to keep tooling costs down. The coated parts went through the exact same 20,000‑cycle test. They came out with the gloss intact, the laser‑etched legends crisp, and no visible wear.
The cost difference? The coating added $0.35 per keypad. But because we did not polish the mold to mirror grade, the tooling cost was $1,200 lower upfront. For their annual volume of 15,000 units, the coating added $5,250 per year—which was far less than the cost of field failures, returns, and lost reputation they would have faced with the mirror‑mold route.
That project changed how they spec finishes. They now treat gloss not as a cosmetic attribute, but as a performance requirement.
Mirror Mold or Coating? Three Questions to Answer
Instead of drowning in data, ask yourself these three questions. The answers will point you in the right direction.
1. How will this keypad actually be used?
- If it sits on a desk, rarely touched, and never cleaned with chemicals → mirror mold can work.
- If it is handled daily, wiped, or exposed to solvents → coating is the safe bet.
2. Do you need permanent legends or backlighting?
- No legends → mirror mold is simpler.
- Yes → coating + laser‑etch gives you durability that printing on raw silicone cannot match.
3. What is your annual volume?
- Under 50,000 pieces → the lower tooling cost of coating often wins on total cost.
- Over 100,000 pieces → mirror mold may be cheaper per part, but only if you accept that the finish will degrade with use.
There is no universal answer. There is only the answer that fits your use case, your volume, and your brand’s definition of “premium.”